Crown 2 Sub Ohm Tank Review
Our Complete Crown 2 Sub Ohm Tank Review will be up and live within the next 7 days. For now it’s our initial thoughts.
We hope you are looking forward to our Crown 2 Tank Review.
Update: June 19th 2016
We just got the Tank yesterday, so we have not done our full testing yet. But we didn’t want to keep you all waiting on this one. So we have added a bunch of sections below for you to read. Our complete review of the Uwell Crown 2 Sub Ohm Tank we will be up soon.
Quick Specs:
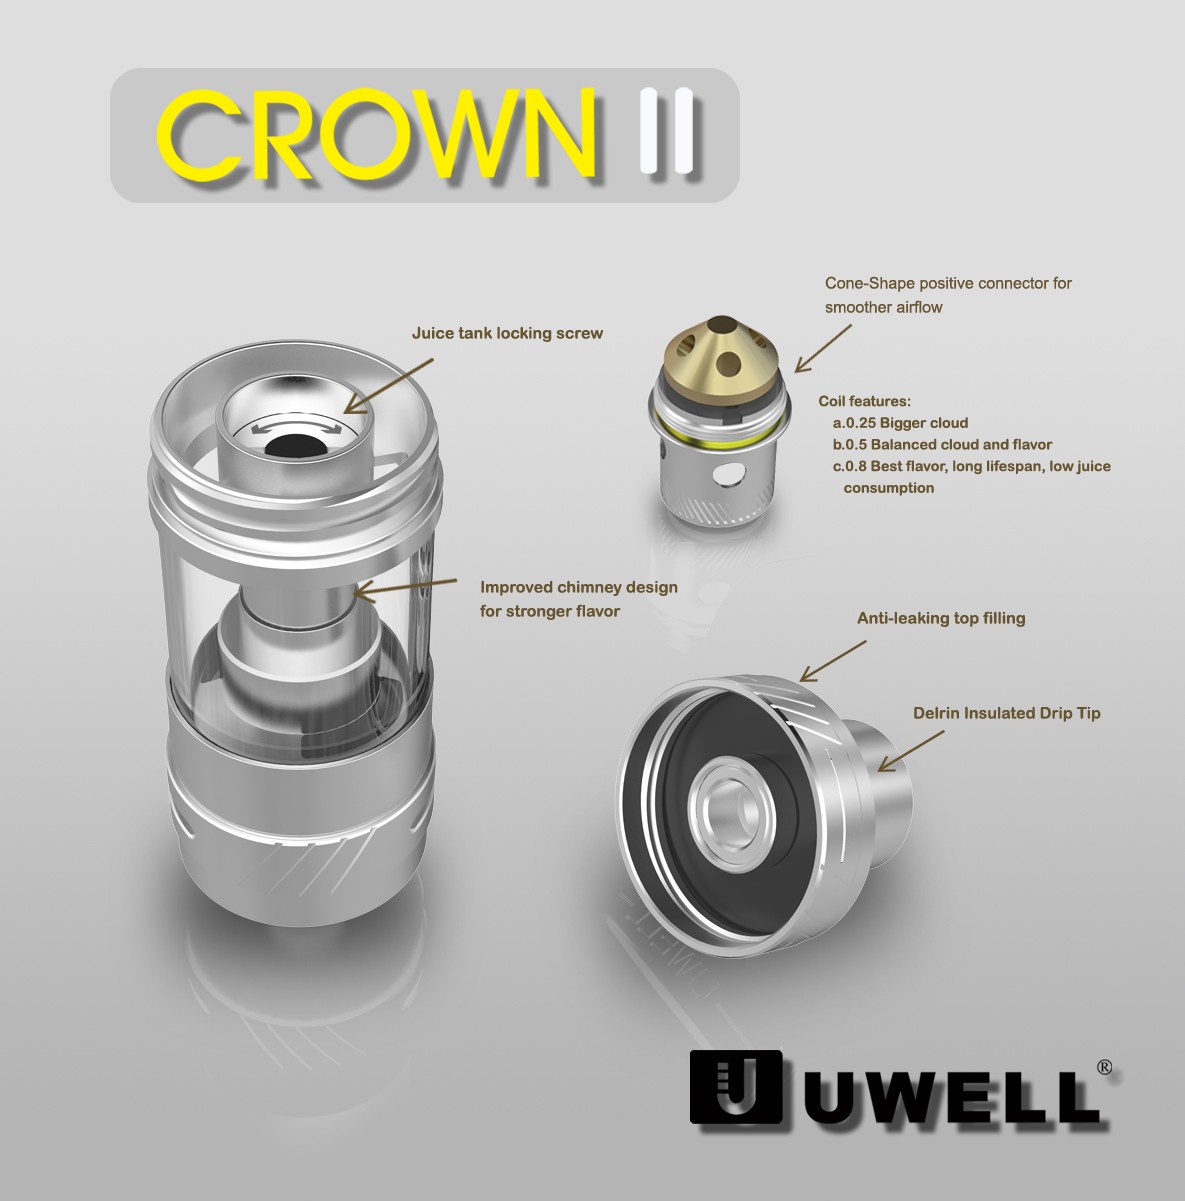
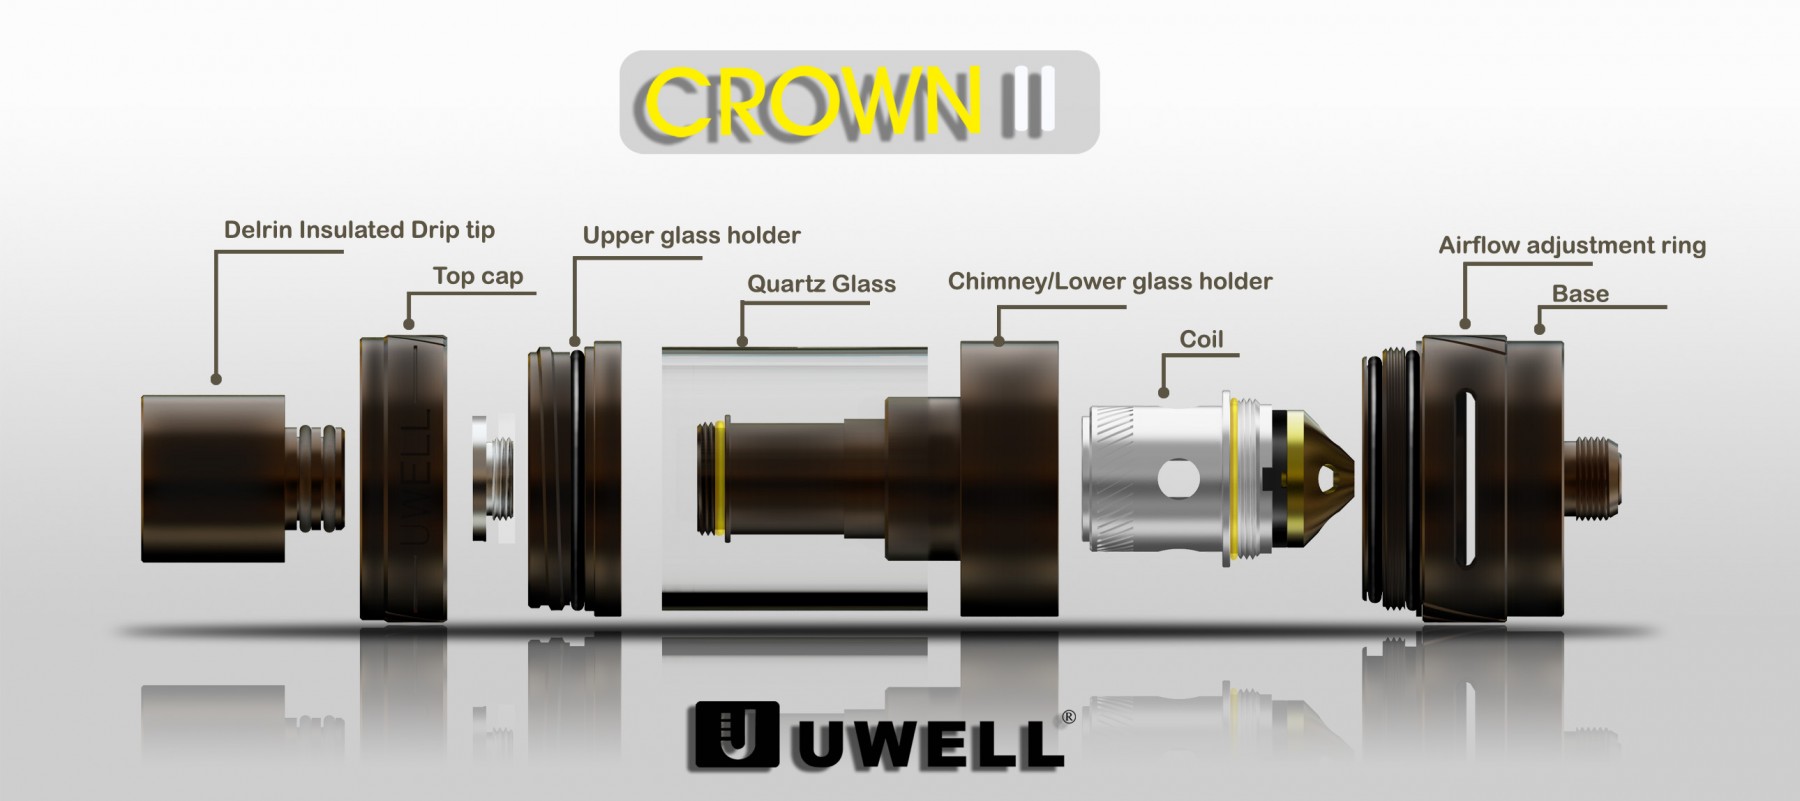
- Delrin Insulated Drip Tip
- Anti-leaking Top Fill
- Top Fill and Bottom Fill
- Tank Locking Screw
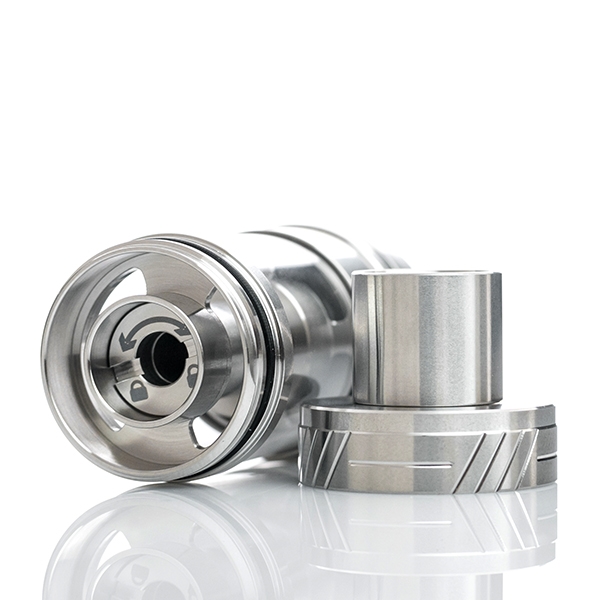
- Cone-Shape Positive Connector on Coils for Smoother Airflow
- Improved Chimney Design for Stronger Flavor
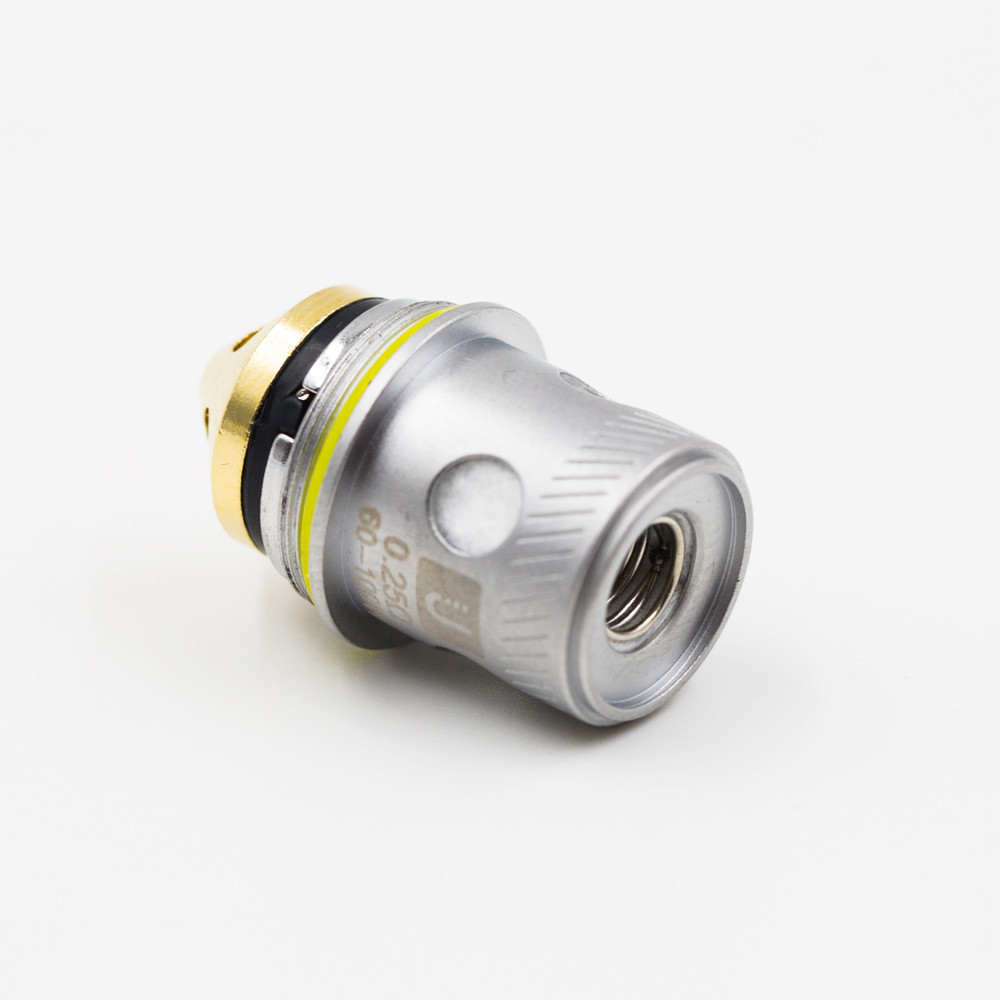
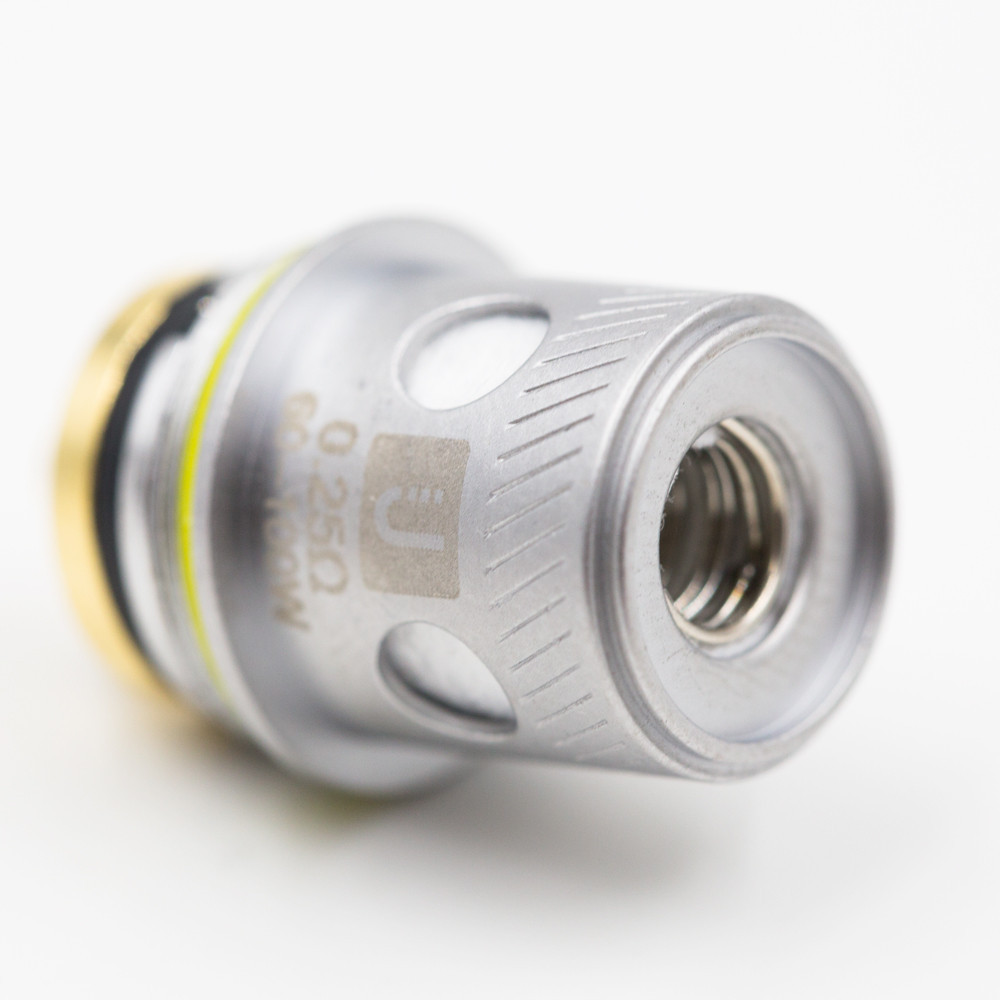
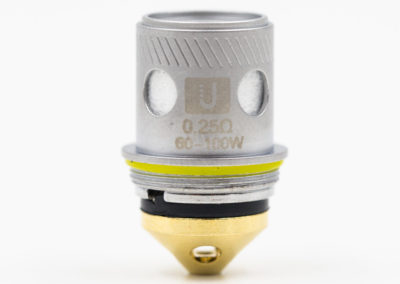
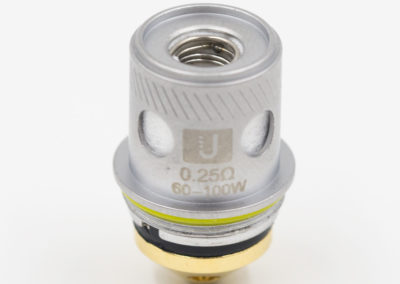
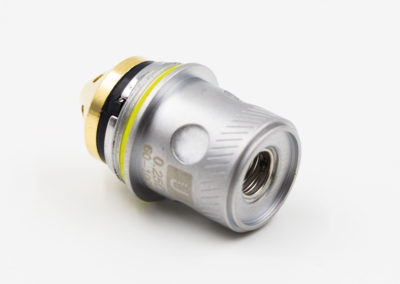
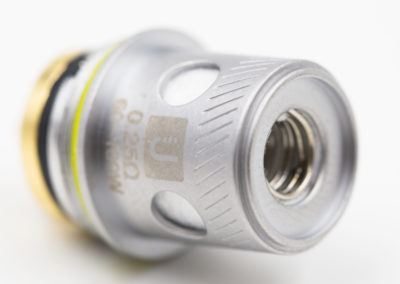
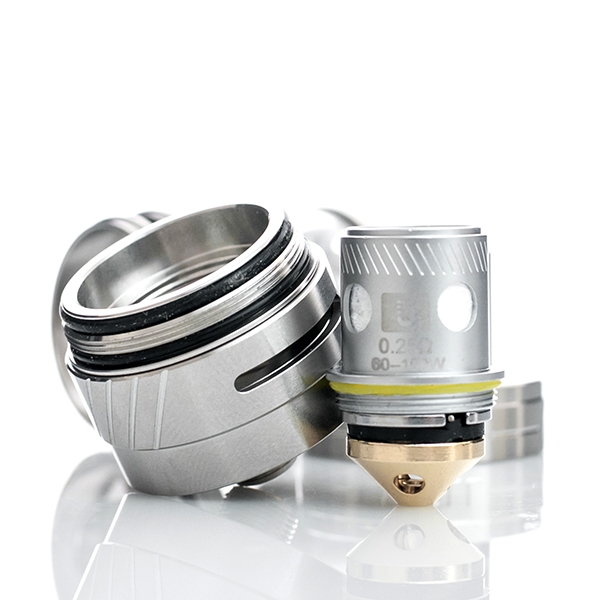
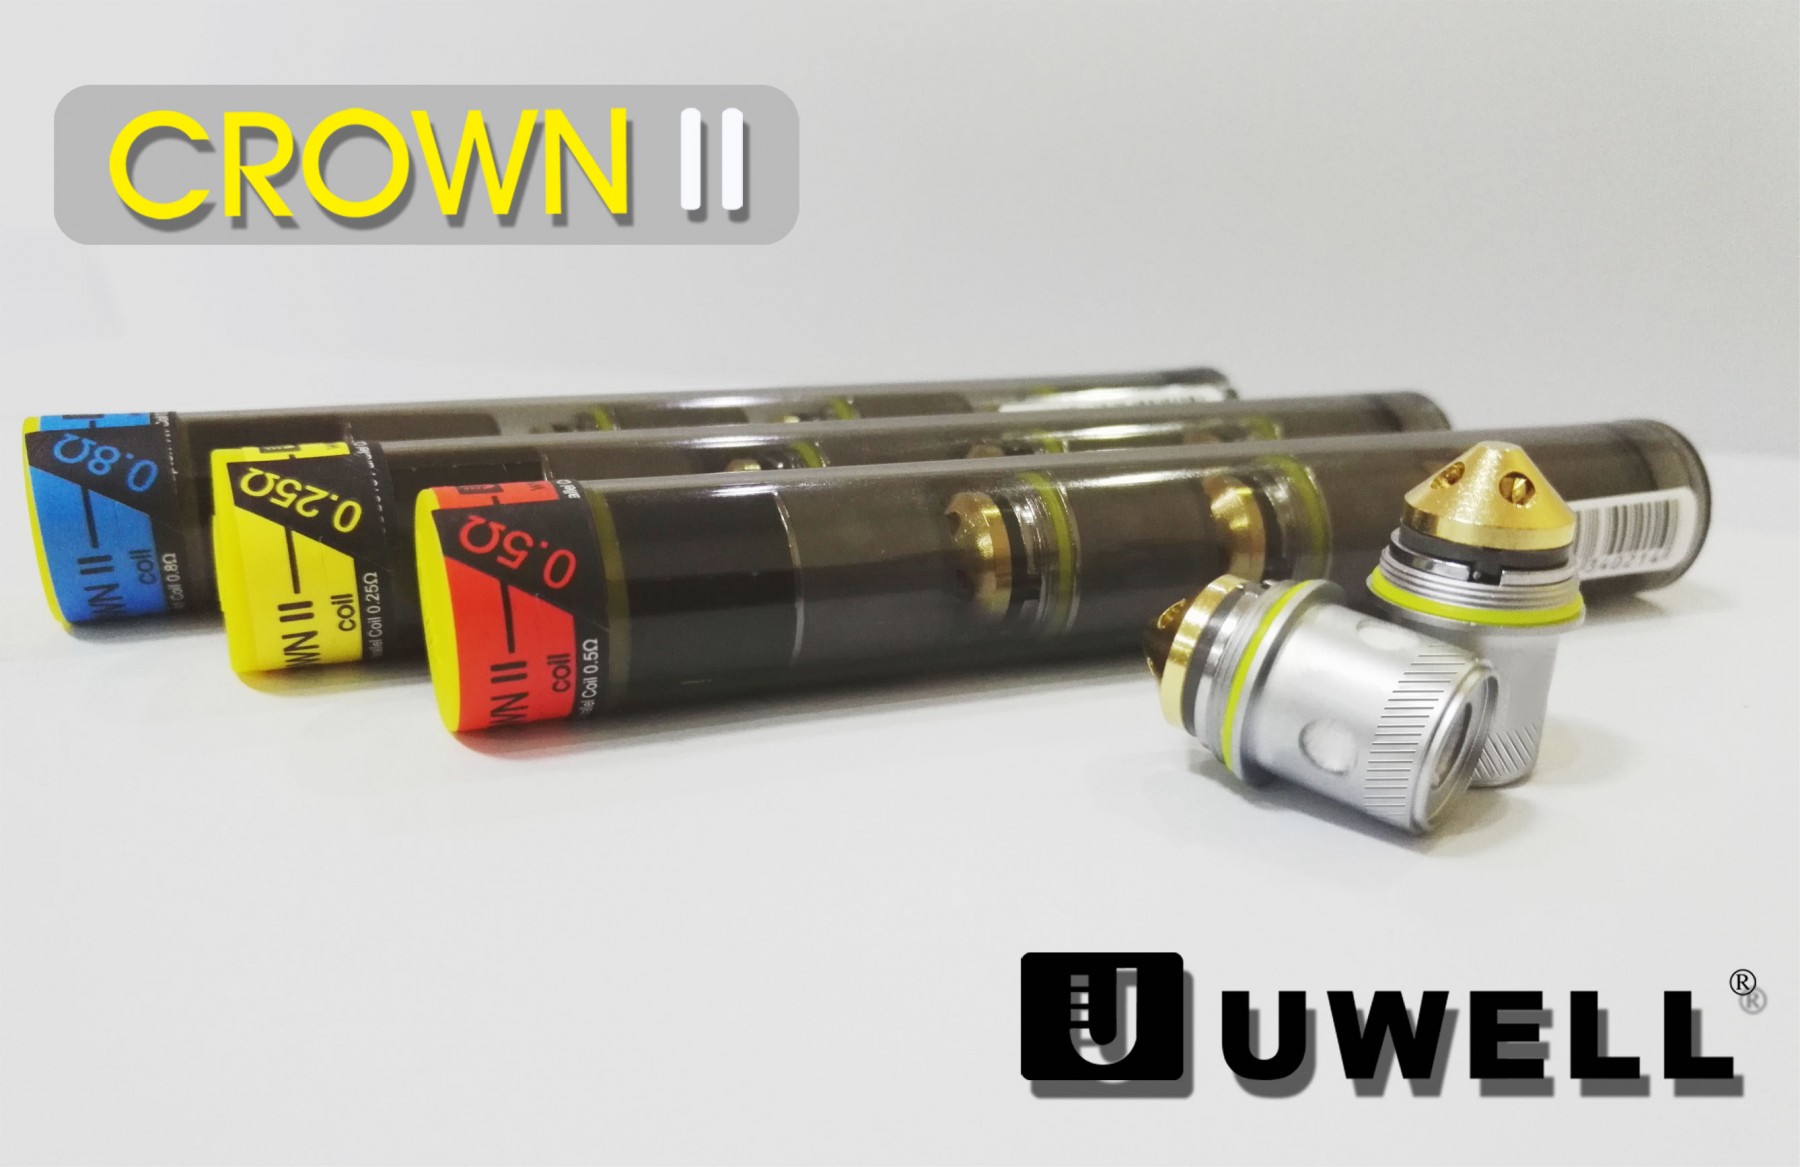
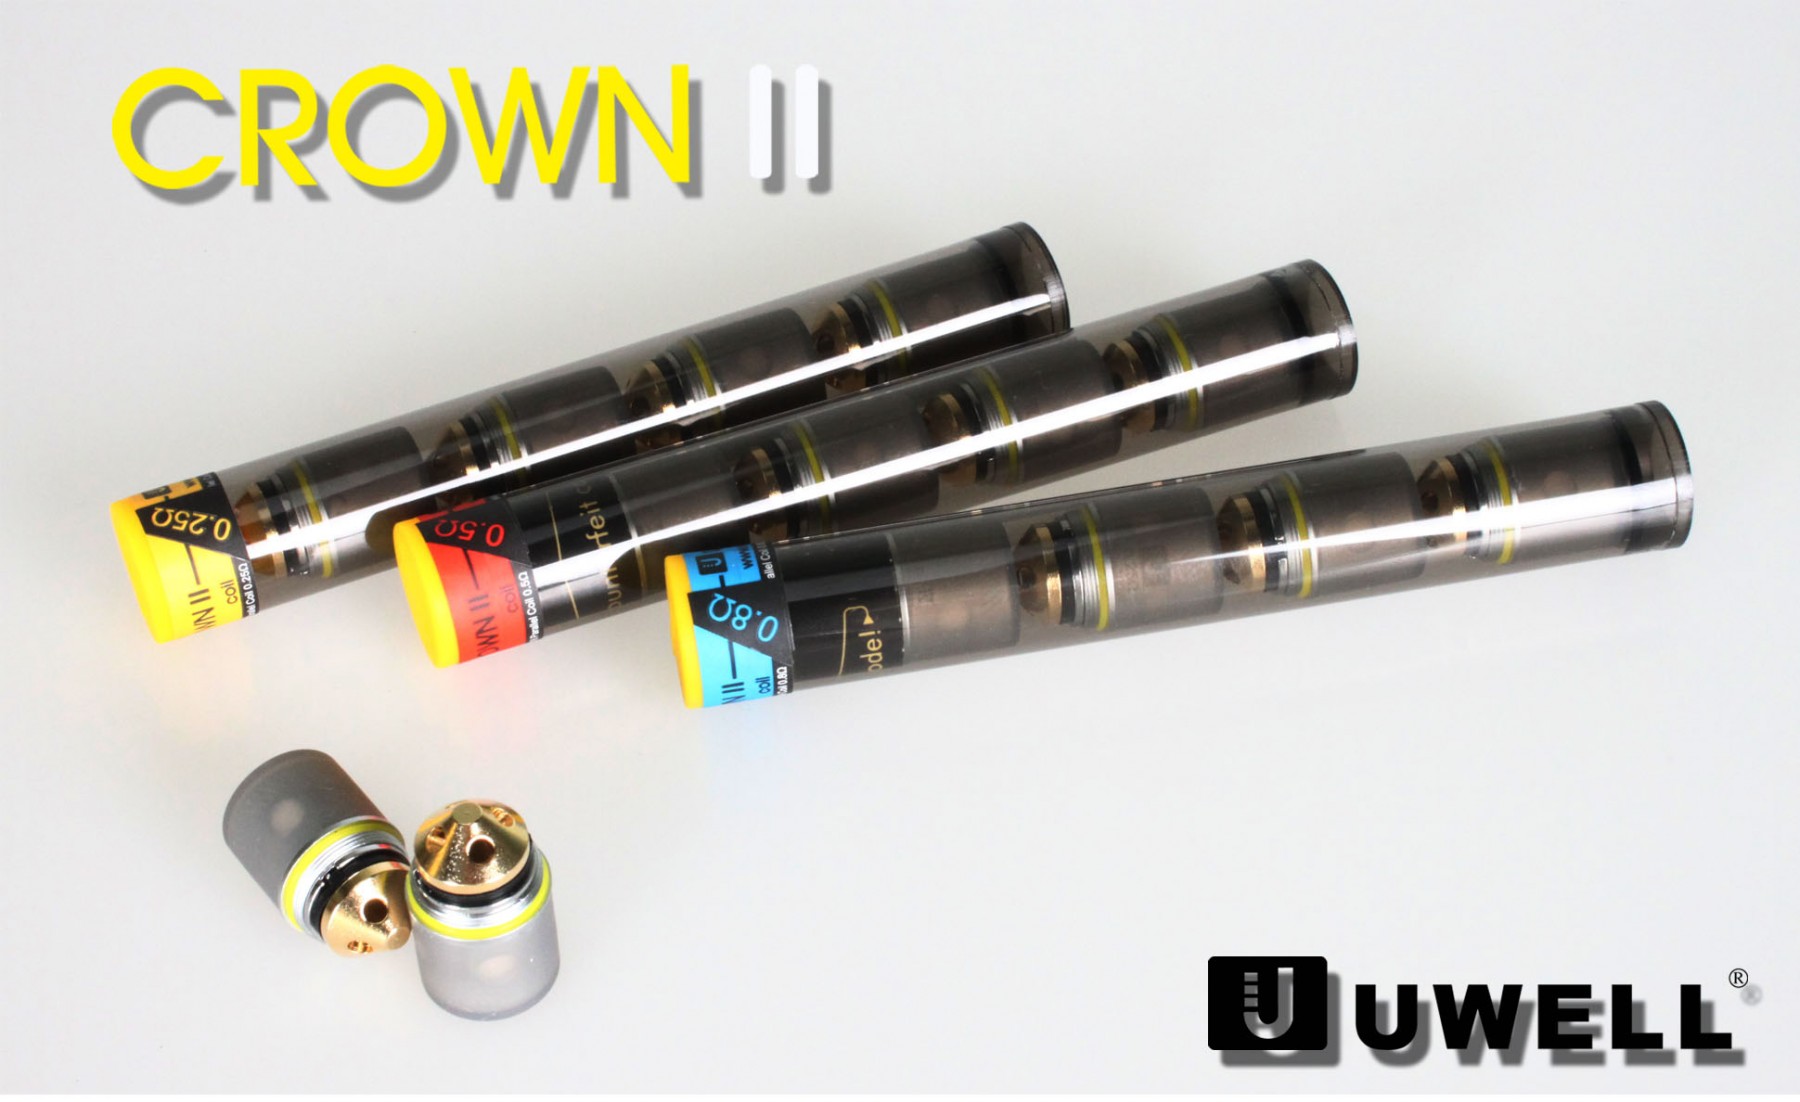
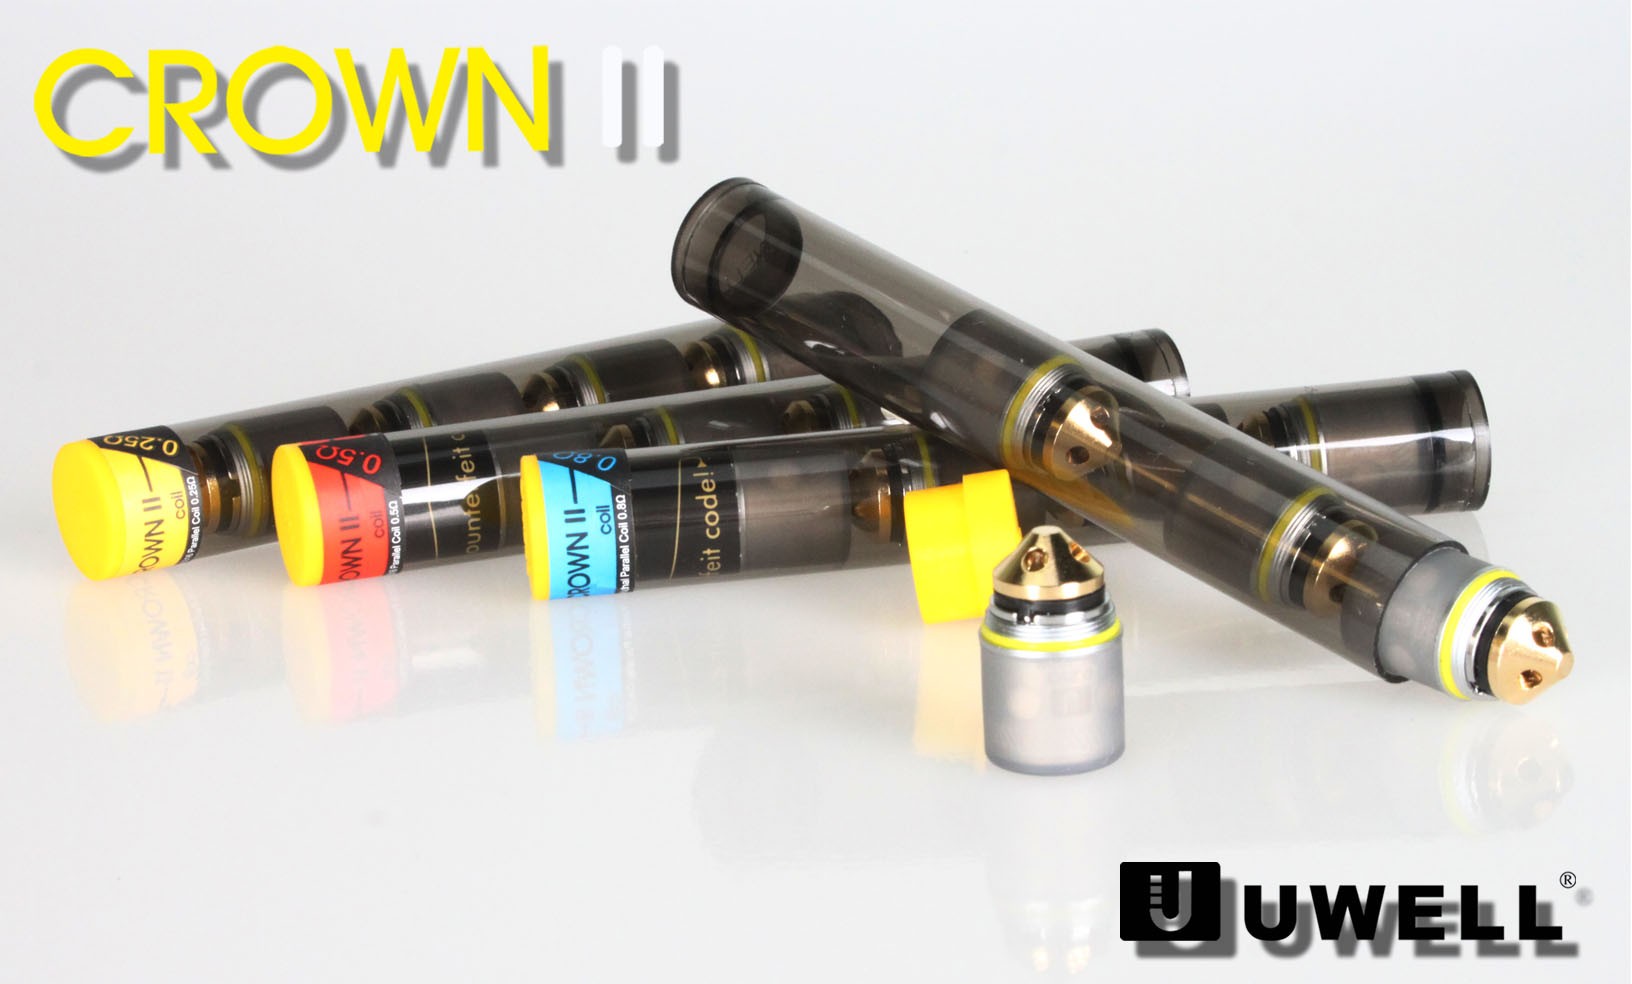
Replacement Coils: (coil pictures below)
- Available in 0.25Ω, 0.50Ω, 0.8Ω.
- 0.25Ω coil – Stainless Steel Wire
- 0.50Ω coil – Stainless Steel Wire
- 0.8Ω coil – Clapton A1 Wire
- 100% organic Japanese cotton
- Only use with an authentic Uwell Crown II Sub Ohm Tank
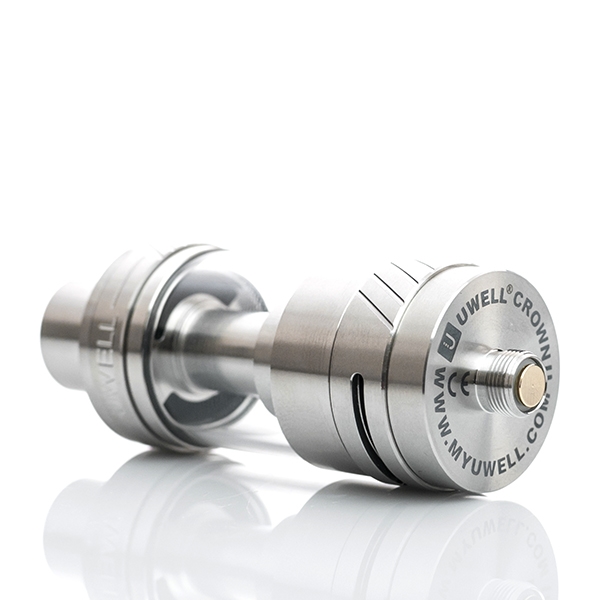
Uwell Crown 2 Review
The Crown 2 Sub Ohm Tank Amazingggg!
Top Fill Cap Threading! –
One twist folks, that’s all it takes. No more twisting and twisting to get the top off. They have magically created a quick 1 twist top cap. And how about when you are putting the top cap back on after filling up? You always make sure you don’t screw up the threading, but you don’t have to worry about that with this tank. It’s easy on and easy off. Well done Uwell, well done.
Air Flow –
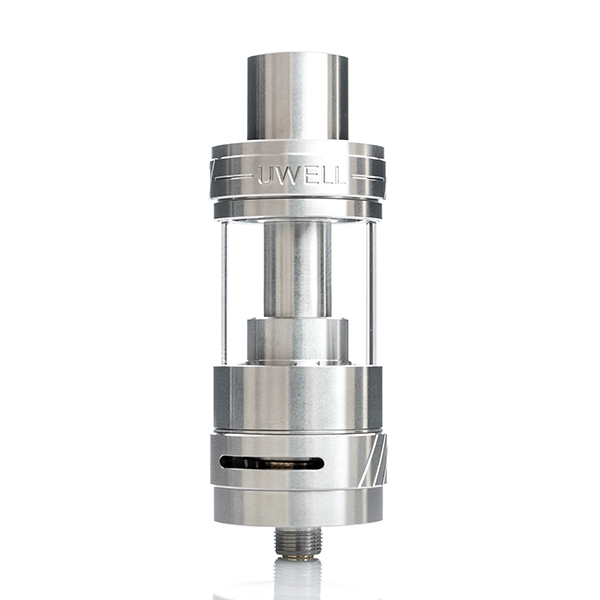
Awesome, just awesome. Instead of 4 small air slots on the bottom there are now two big slots, which you can tell immediately make a huge difference. As you know, the air flow can make or break a tank. For the Uwell Crown 2 Tank, it definitely makes this a big contender in the Sub Ohm Tank market.
Coils –
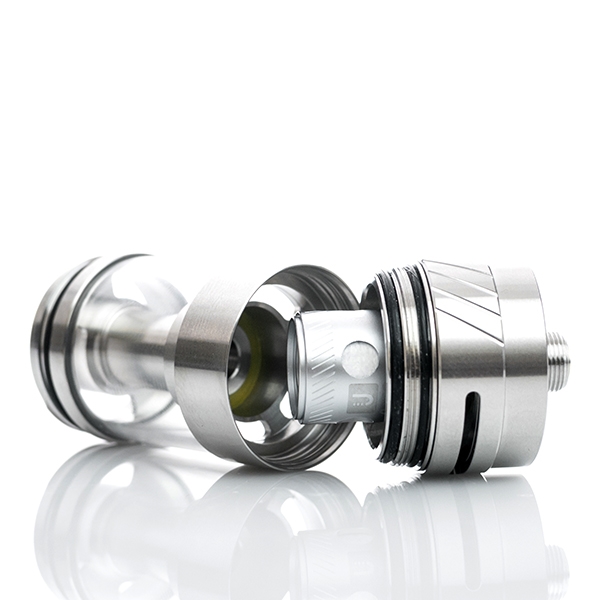
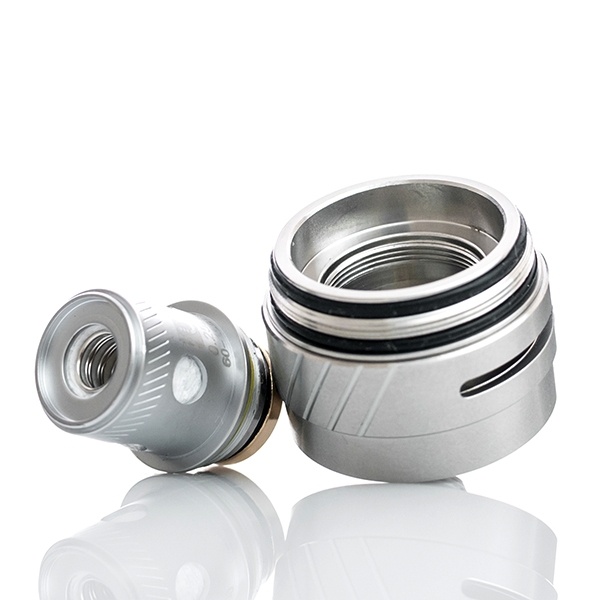
Now they made the “bullet” coil, which was genius. Not only are there the 4 holes for juice to come in, now the air can flow perfectly around and under the coil. I know that might not make much sense, but if you buy the tank you will understand right away.
Build Quality –
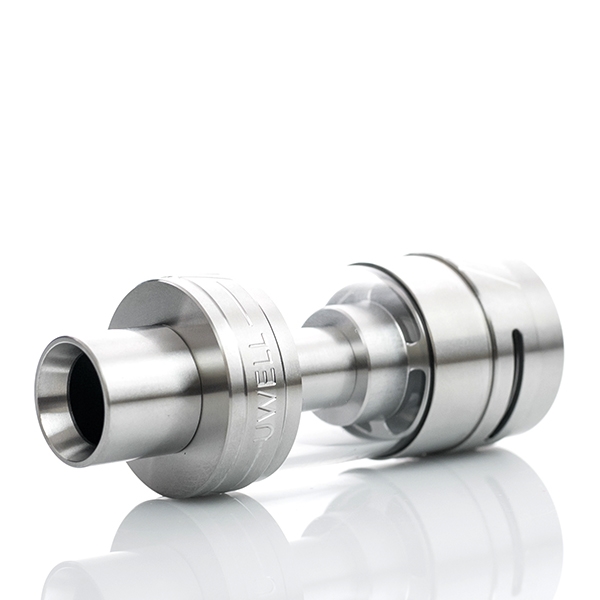
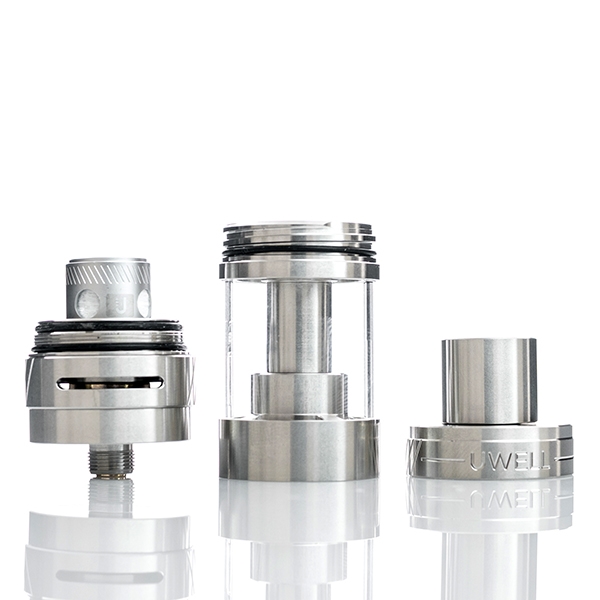
This is one of the best made Tanks we have ever seen. Every part of it has been thoroughly tested and perfected. You can tell they took their time on the small details as well. The whole tank is a masterpiece.
Cleaning –
Uwell really thought of everything on this one. They have incorporate a locking system so that you can’t take it completely apart without unscrewing a nut. Coil Building Tweezers can unlock and lock it with ease. Just use the opposite end of the tweezers and insert it into the slot in the nut. It is opposite though, turn right to unlock and left to lock. Once you unlock it you can take the glass off with a light twist and clean it completely. When you are done and it’s dry just put it back together, put the nut in place, and lock it in. Another genius idea by Uwell.
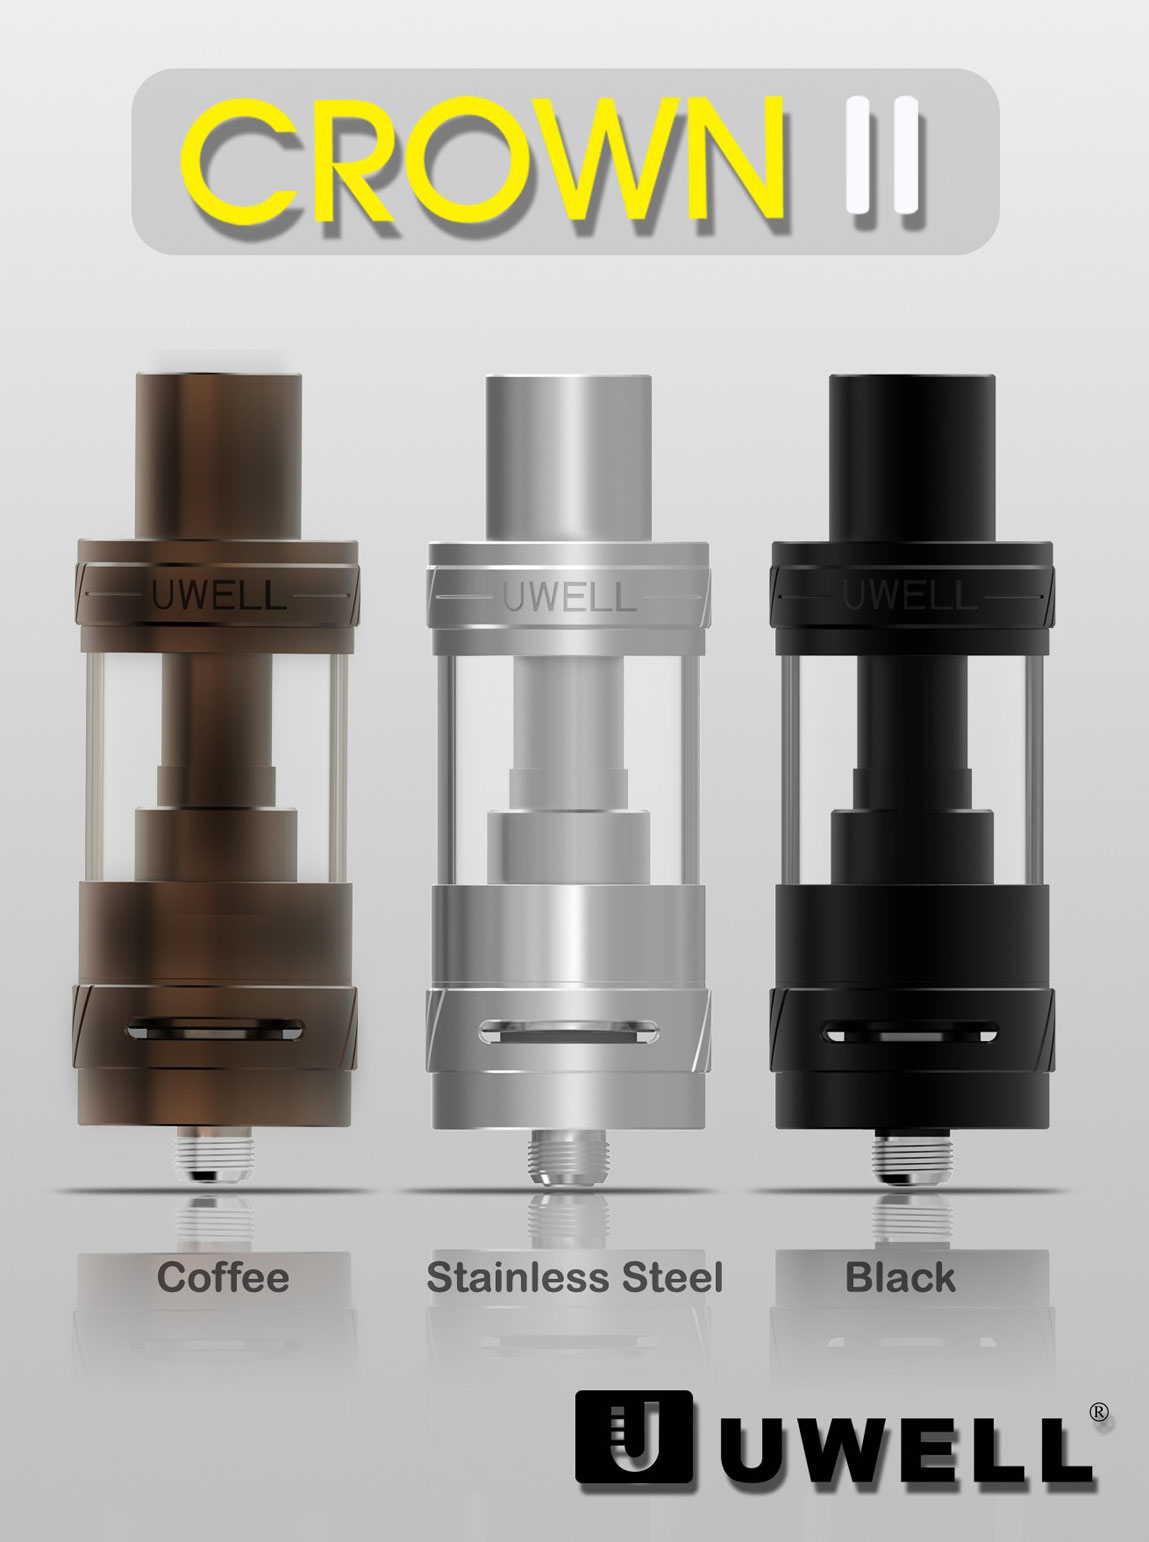
Colors Available –
The first shipments only had one color, stainless steel. However, we are told Black and Coffee are on their way and should be available soon.
Pricing –
We have seen a wide range of prices for the Crown 2 Tank so far. The price range has been from $28 up to $38 so far.
Would we buy this tank again if it broke?
He** yeah we would. It’s definitely one of the best Tanks out there, in our opinion of course.
Priming The Coil –
These coils are different because you can’t prime them like most other coils. Usually you can drip e-Juice into the coil from the top right onto the cotton and then wait for it to absorb, and then repeat until you see the holes on the side of the coil wet with e-Juice. But you don’t have access to the cotton on the top due to a piece of material covering the top portion of the cotton. (See picture)
So here is what we did. We used a unicorn bottle (that’s all we ever use) with a fine tip and we angled the tip inside the coil under the material that’s covering the cotton, not straight into the middle, see coils pictures below. After a few drops we would blow into the coil to force the e Juice onto the coil or out of the air slot, either one will do. Eventually we started to see the holes on the coil get wet and we kept going until all of the cotton where the holes were wet.
Breaking In The Coil –
As you all know, it usually takes at least a full Tank or more to get a coil broken in and to the point where they are working at their best. But, these coils are amazing, and after a few puffs there was no more weird taste at all.




Can you tell us how to identify which gen of bullet style coils we have.
Gen 1 has a dull exterior (had a burned flavor after a week or two)
Gen. 2 has a polished exterior (better flavor production and better build quality.
This makes finding the difference between these two quite simple.
However, with Gen. 3 – they say they have extended the cotton below the coil, but I have not seen any difference between them.
With all that being said, what if any would be a characteristic marking for us to identify Gen. 3 coils. Aside from disassembling the coil?
Hi Dustin,
We have reached out to Uwell for an answer. So far we have only seen the the 1st two styles. I will update this reply if and when they respond. Thanks!